Add a client
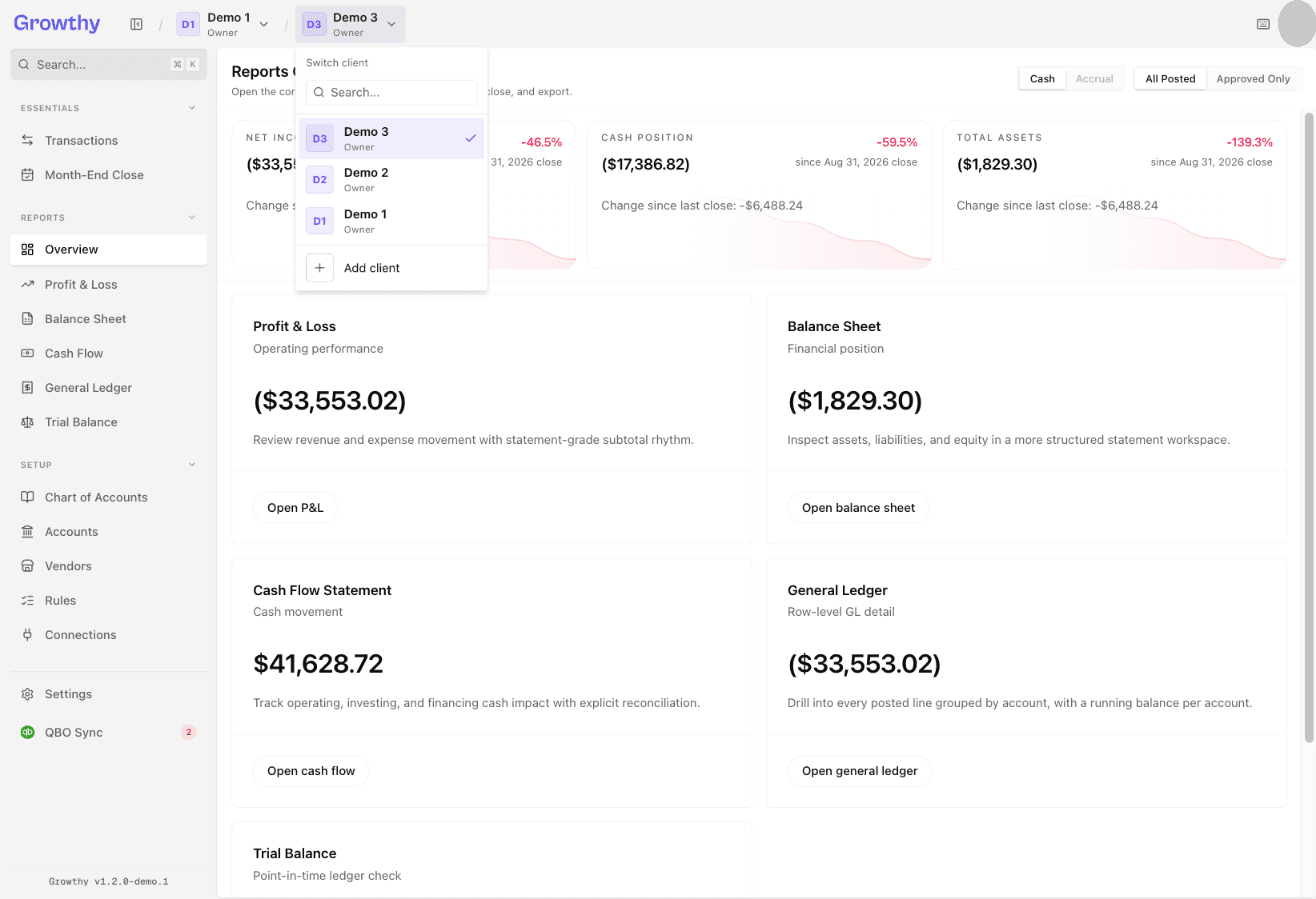
Accountants and Owners can select Add client from the header client switcher to open the client setup wizard and create a new client workspace.
Add a new client workspace to Growthy. Only an Accountant or Owner can do this.
Steps
- Select Add client from the client switcher in the header.
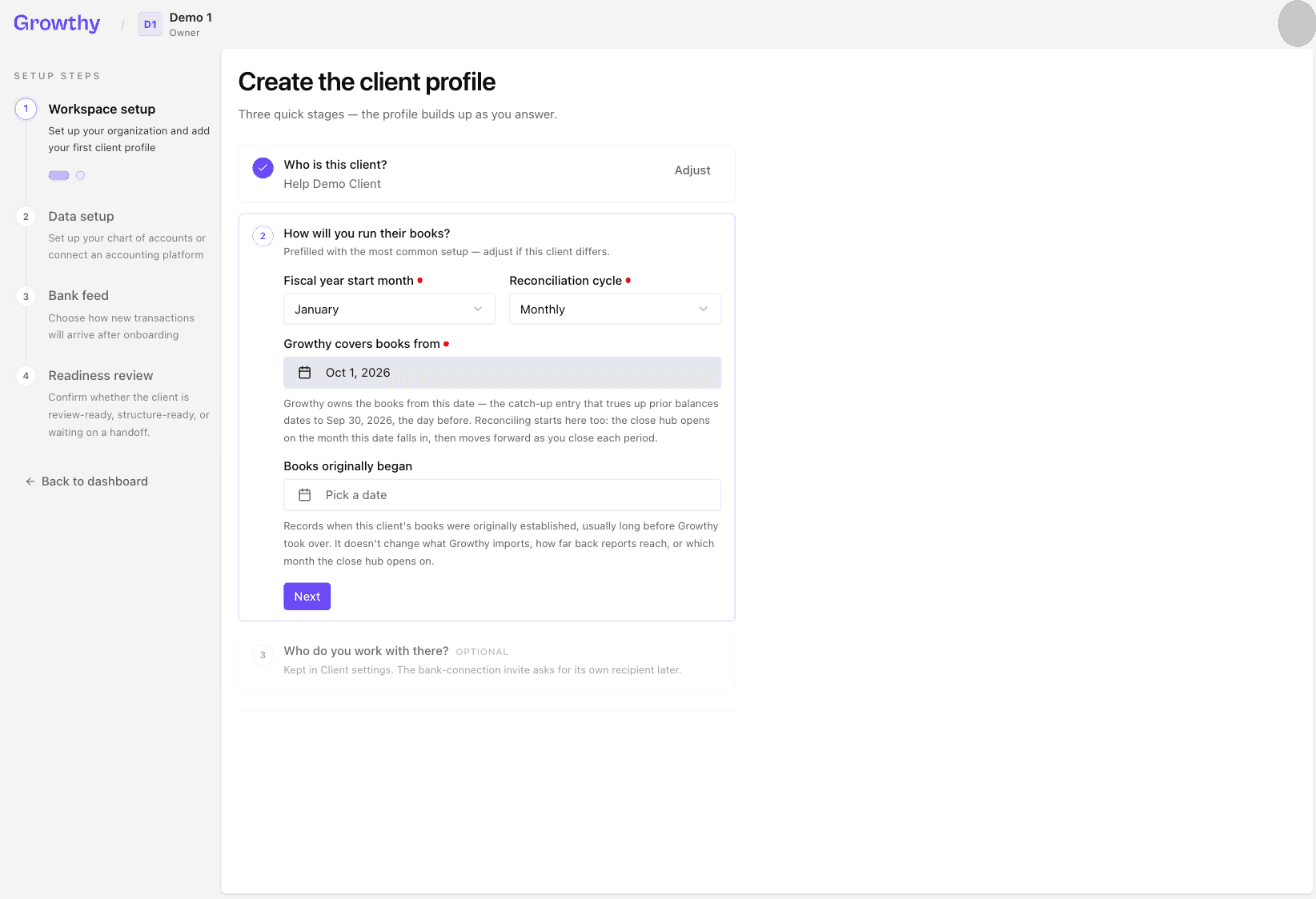
- On Workspace setup, answer Who is this client?, then How will you run their books? — set Growthy covers books from and Books originally began — then Who do you work with there?. Select Continue to data setup.
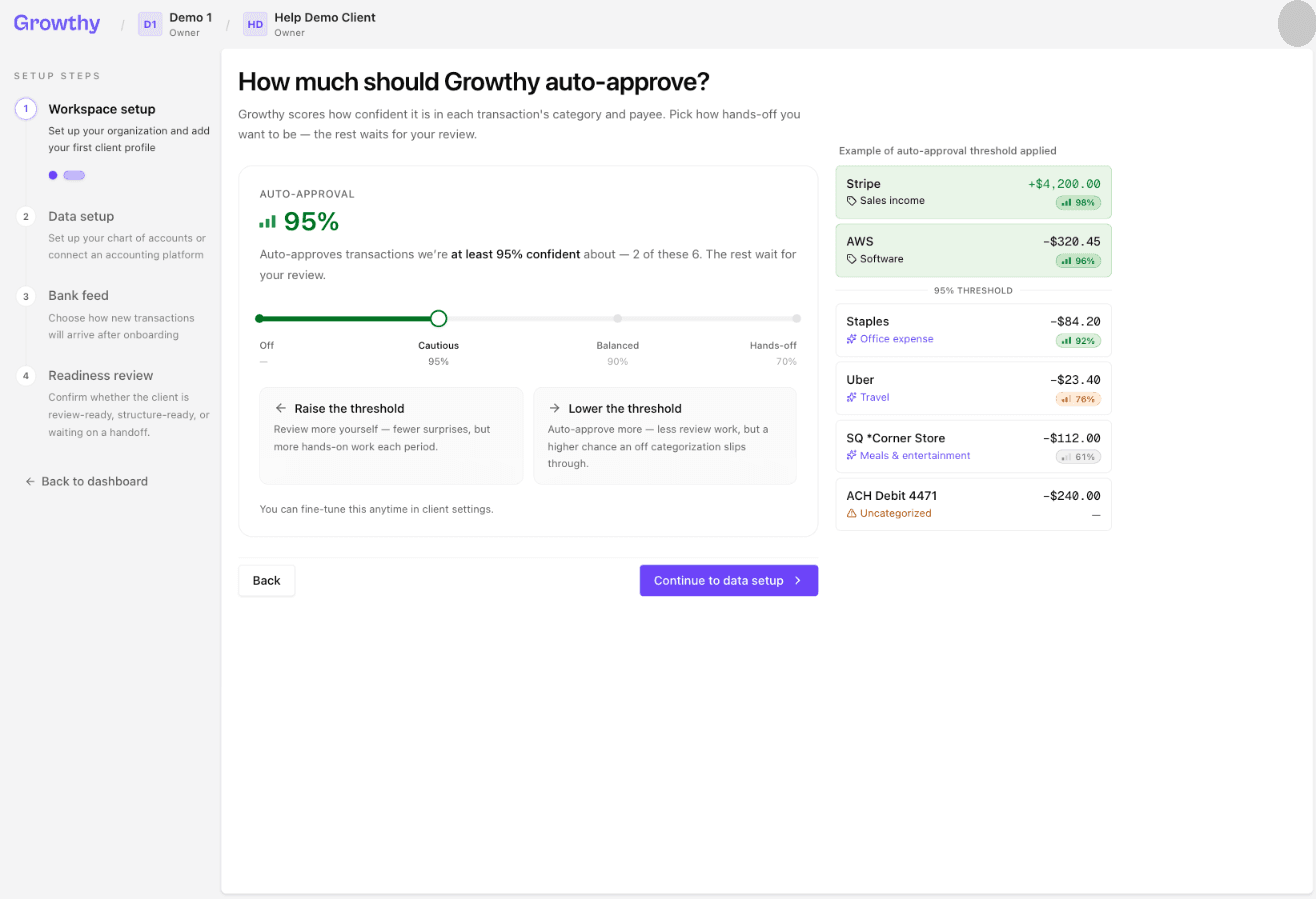
- On How much should Growthy auto-approve?, pick how hands-off you want Growthy to be, then select Continue to data setup.
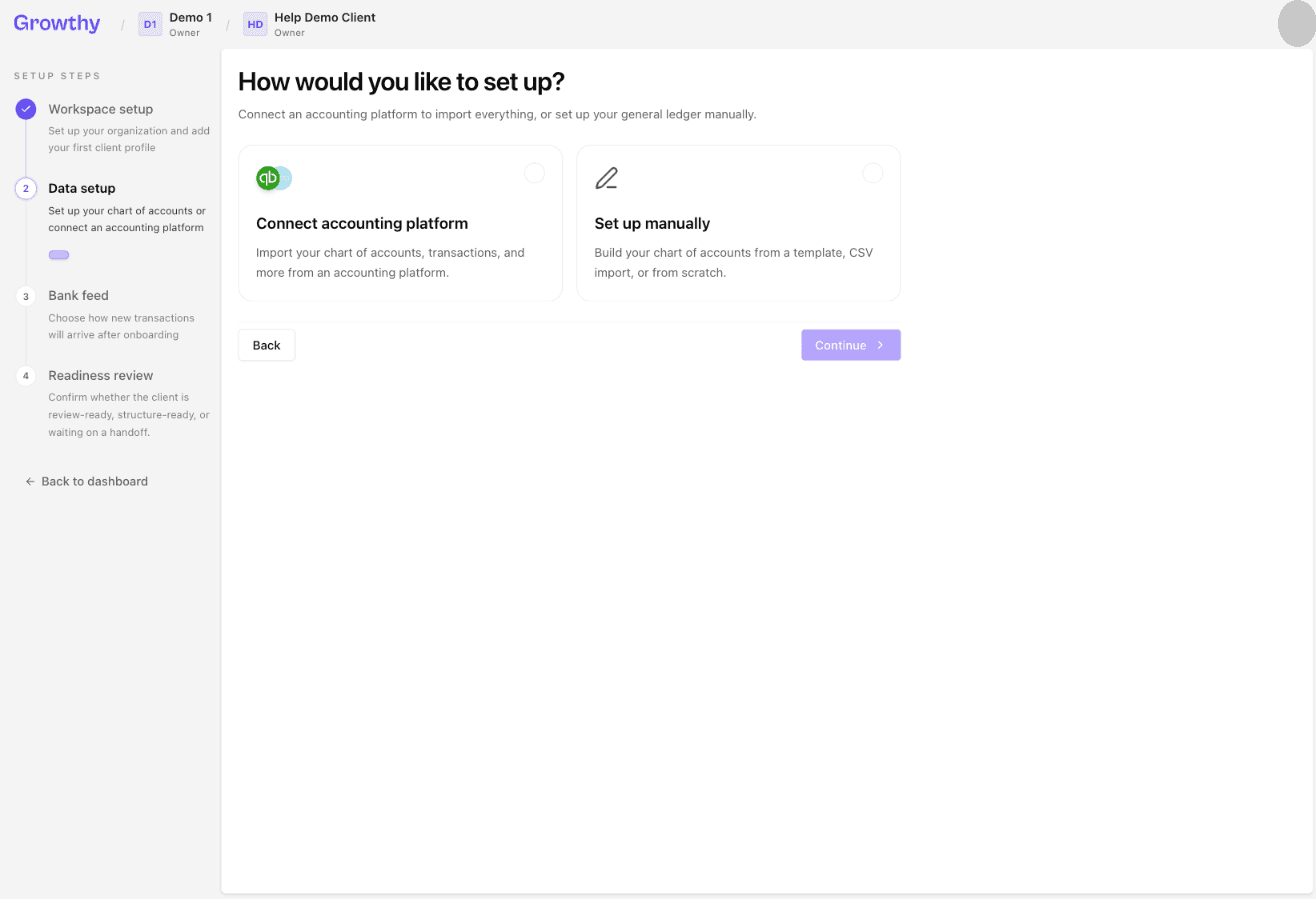
- On Data setup, choose how to set up: Connect accounting platform or Set up manually.
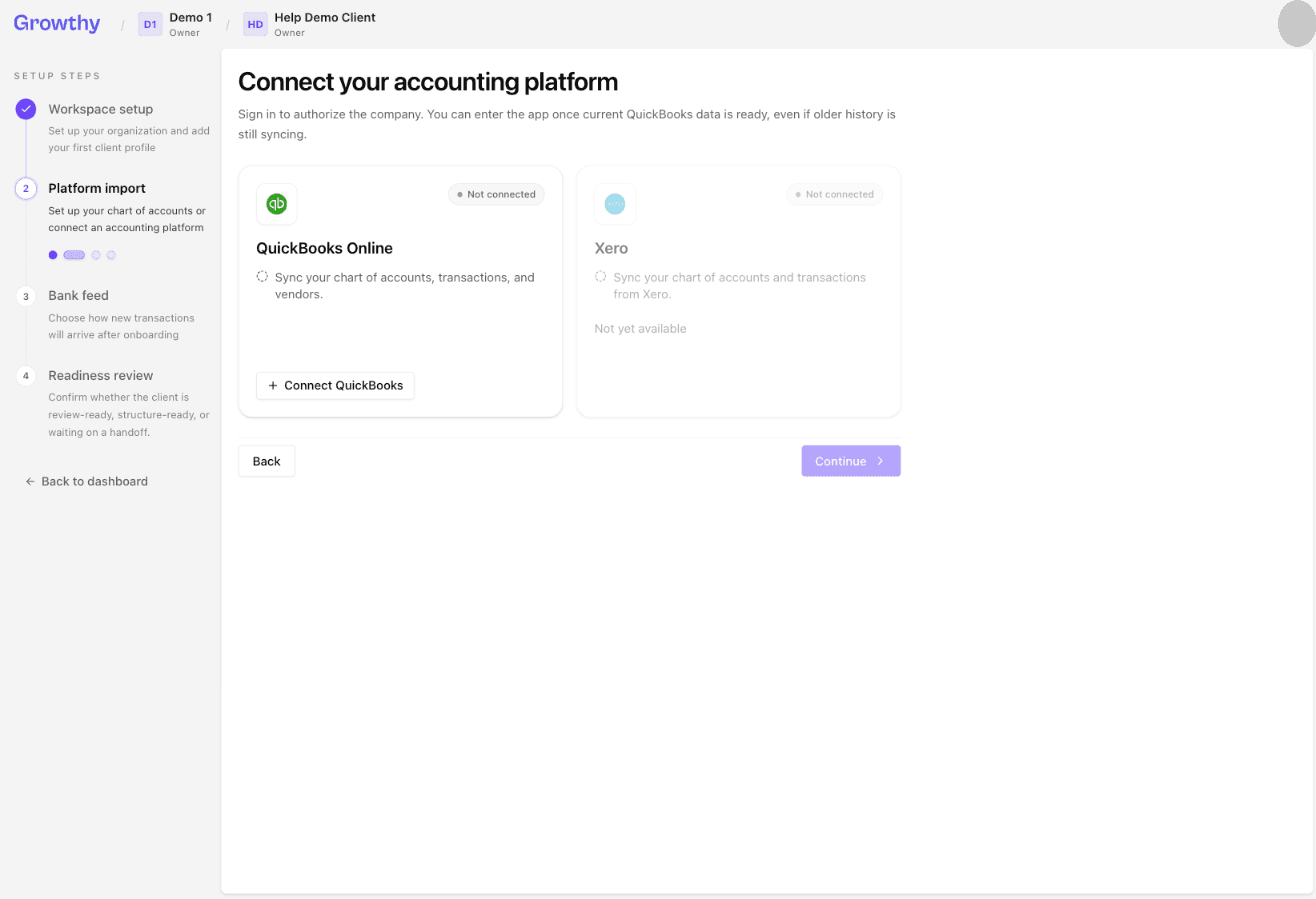
- If you chose Connect accounting platform, select Connect QuickBooks and sign in. When the import is ready, select Continue. On Your QuickBooks data is ready, select Continue to bank feed.
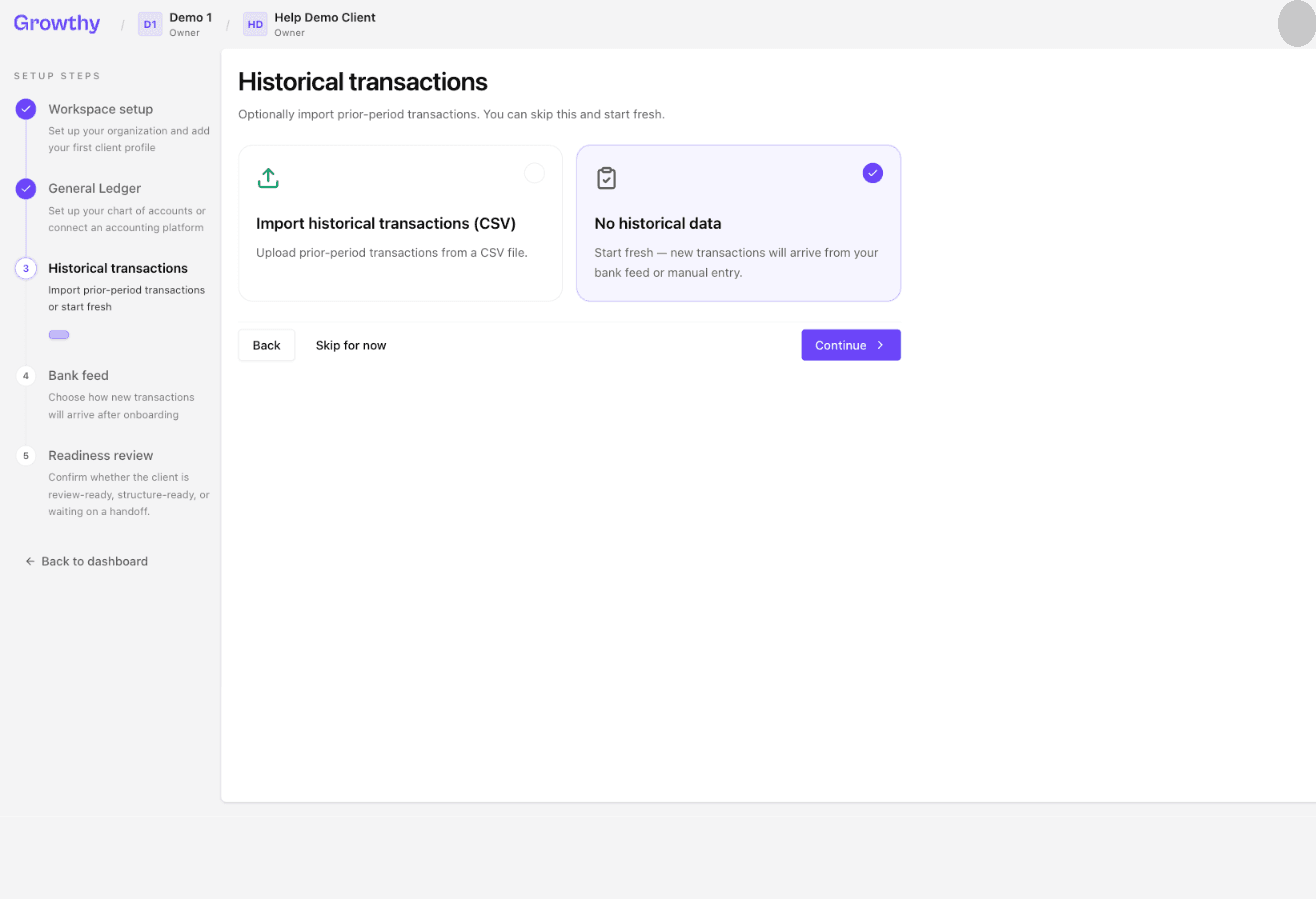
- If you chose Set up manually, answer the setup questions that follow. On Historical transactions, select No historical data to continue without importing history.
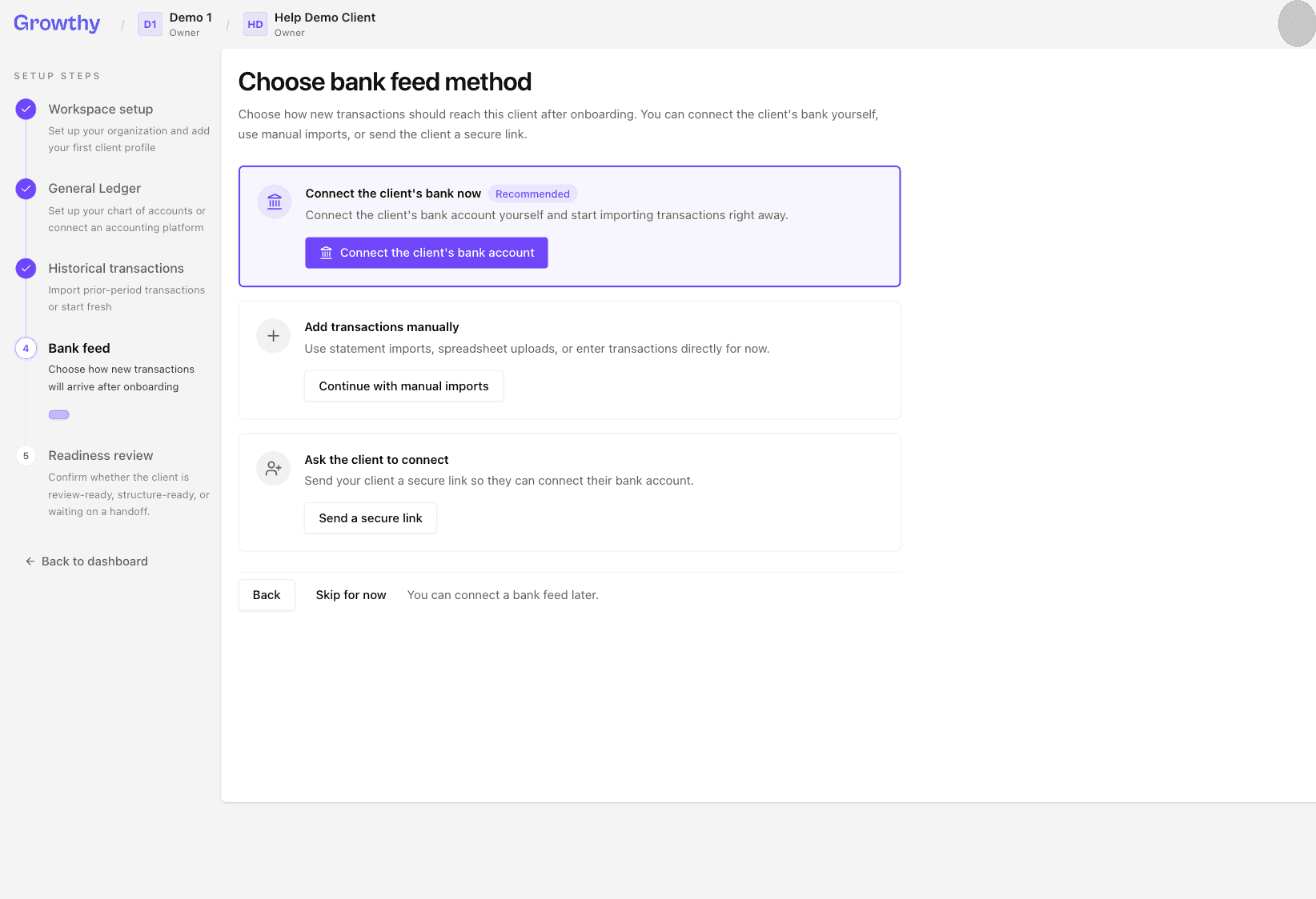
- On Choose bank feed method, pick how the client's bank transactions will come in, or select Skip for now.
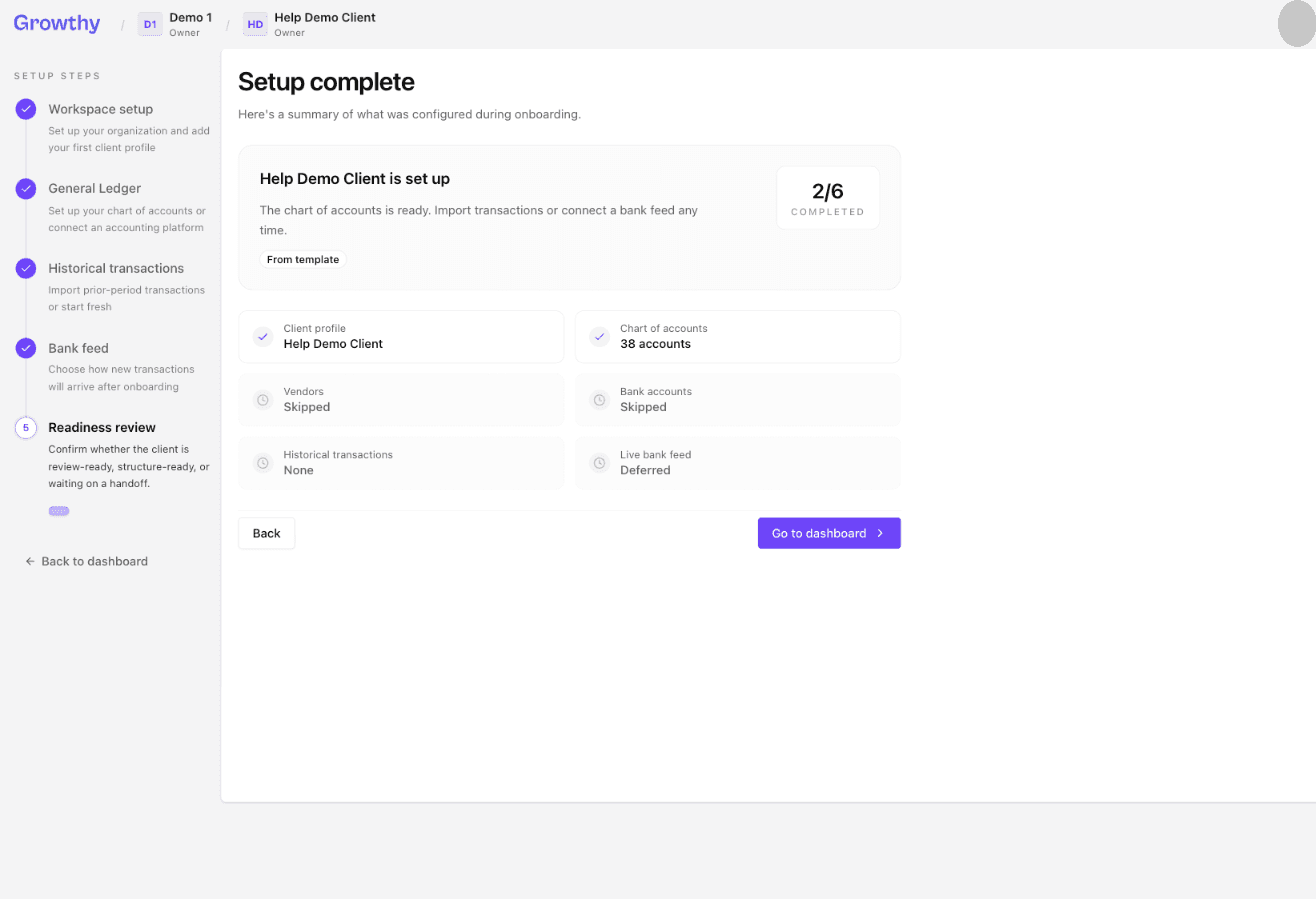
- On Readiness review, check the summary and finish setup.
Was this helpful?